When it comes to classic dessert pairings, vanilla cake with chocolate ganache is a match made in heaven. The subtle, buttery flavor of vanilla combined with the rich, velvety texture of chocolate ganache creates a dessert that’s not only visually appealing but also incredibly satisfying to the palate. In this article, we’ll guide you through the process of making this delectable dessert, from preparing the cake batter to crafting the perfect ganache, and finally, assembling it into a show-stopping cake.
Introduction to the Flavor Combination
The combination of vanilla and chocolate is beloved worldwide. Vanilla’s mild, sweet flavor serves as the perfect canvas to showcase the deep, complex taste of chocolate. While these two flavors are often found together in various desserts, the pairing of a vanilla cake with chocolate ganache is something special. The ganache adds a layer of richness and elegance, making even the simplest vanilla cake feel luxurious. Learn more about the origins and uses of vanilla in baking.
Despite its simplicity, this combination is versatile enough to be the centerpiece of any celebration, from birthdays to weddings. It’s a flavor duo that’s easy to love, and with a few tips and techniques, you can make a vanilla cake with chocolate ganache that’s not only delicious but also looks like it was made by a professional. Explore the history and variations of chocolate ganache.
For those interested in trying other unique and delightful recipes, the Potato Pizza Recipe on Vera Recipes offers a creative twist on classic pizza, making it a fun addition to any meal plan.
Ingredients Overview
For the Cake:
- Flour: 250g of self-raising flour gives the cake structure.
- Butter: 125g of softened unsalted butter adds richness and flavor.
- Oil: 125ml of any flavorless oil, such as vegetable oil, contributes to the moistness of the cake.
- Sugar: 250g of granulated sugar sweetens the cake.
- Vanilla Extract: 2 teaspoons of vanilla extract enhance the cake’s flavor.
- Eggs: 4 large eggs provide structure and help the cake rise.
- Milk: 50ml of warm milk adds moisture to the batter.
For the Ganache:
- Dark Chocolate: 200g of dark chocolate creates a rich, smooth ganache.
- Cream: 200ml of double cream ensures the ganache is creamy and luscious.
- Butter: 25g of unsalted butter adds sheen and richness to the ganache.
Using high-quality ingredients is crucial for achieving the best results in both flavor and texture. For instance, real vanilla extract rather than imitation, and high-cocoa-content dark chocolate will make a noticeable difference in the final product.
If you’re looking for more creative baking ideas, the Sourdough Pop Tart Recipe is an excellent example of how versatile homemade baked goods can be.

The Science Behind a Perfect Vanilla Cake
The Role of Each Ingredient
In a vanilla cake, each ingredient plays a specific role in creating the desired texture and flavor. The flour provides the structure, while the butter and oil ensure the cake remains moist and tender. Sugar not only sweetens the cake but also helps with the caramelization process during baking, giving the cake a golden color and slightly crisp edges.
Eggs are vital as they bind the ingredients together and contribute to the cake’s rise by trapping air during the mixing process. Vanilla extract is the star of the show, imparting that signature sweet, floral flavor that complements the richness of the chocolate ganache perfectly.
Proper Mixing Techniques
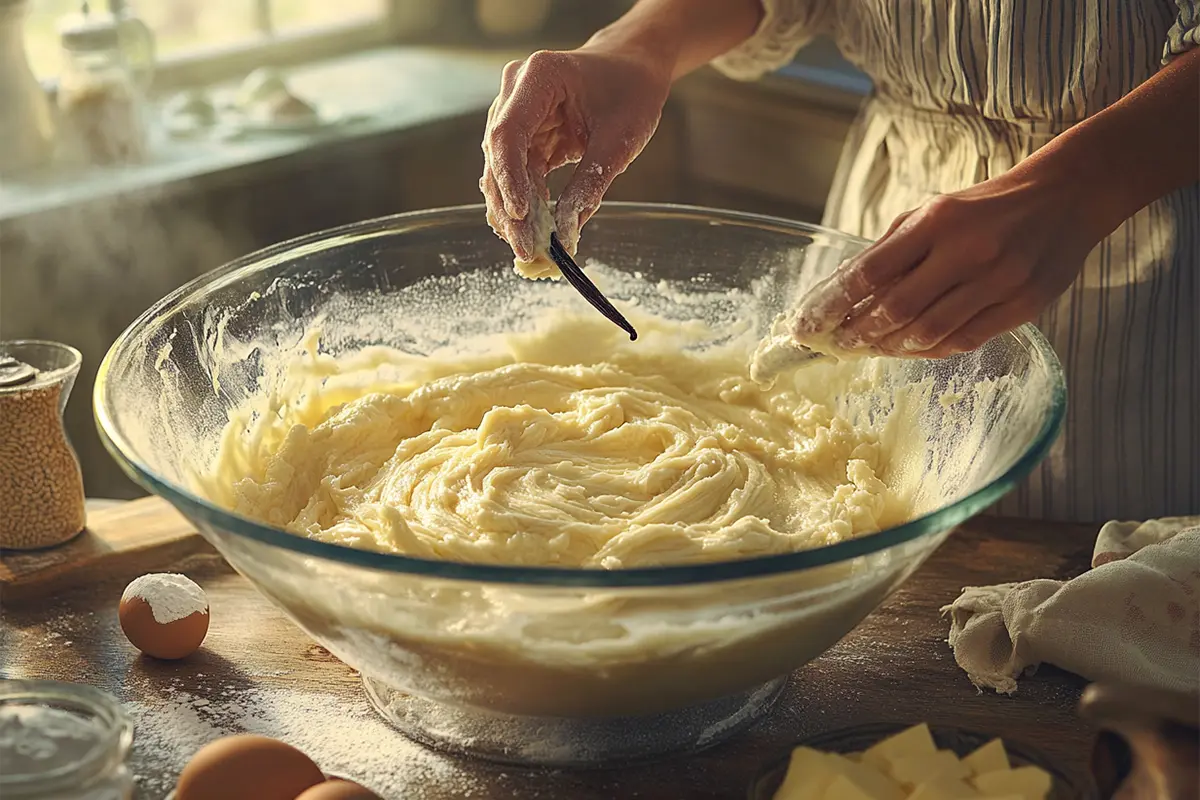
To achieve a fluffy, tender crumb in your cake, it’s essential to use proper mixing techniques. Start by creaming the butter, oil, sugar, and vanilla extract together until the mixture is light and fluffy. This process incorporates air into the batter, which helps the cake rise and creates a soft texture. When adding the eggs, mix them in one at a time, ensuring each egg is fully incorporated before adding the next.
When it comes time to add the flour, it’s important to mix just until combined. Overmixing can lead to a dense cake as it develops too much gluten, which is the protein that gives bread its chewy texture—something you want to avoid in cakes.
Selecting the Right Flour and Fat
For this recipe, self-raising flour is recommended because it already contains a leavening agent, which helps the cake rise. If you don’t have self-raising flour, you can make your own by adding 1.5 teaspoons of baking powder to every 125g of plain flour.
As for the fats, a combination of butter and oil is used. The butter adds flavor and richness, while the oil keeps the cake moist for longer. This dual approach ensures the cake is both flavorful and has the perfect texture.
Making the Vanilla Cake Batter
Step-by-Step Instructions
- Preheat Your Oven: Start by preheating your oven to 170°C (325°F) and greasing two 6-inch cake tins. Line the bottoms with parchment paper to ensure the cakes don’t stick.
- Cream the Butter, Oil, Sugar, and Vanilla: In a large mixing bowl, combine the softened butter, oil, sugar, and vanilla extract. Beat on high speed for about 5 minutes, or until the mixture is pale and fluffy. This step is crucial as it incorporates air into the batter, leading to a light and airy cake.
- Add the Eggs: Crack the eggs one at a time into the bowl, beating well after each addition. This helps to evenly distribute the eggs throughout the batter, ensuring a consistent texture.
- Incorporate the Dry Ingredients: Sift the self-raising flour into the bowl. Add the warm milk and gently fold the ingredients together until just combined. Be careful not to overmix, as this can result in a dense cake.
- Divide and Bake: Divide the batter evenly between the prepared cake tins. Bake for about 40 minutes, or until a toothpick inserted into the center comes out clean. The cakes should be golden brown on top and should spring back when lightly pressed.
- Cool the Cakes: Once baked, allow the cakes to cool in their tins for about 10 minutes before turning them out onto a wire rack to cool completely.
Adjusting the Recipe for Different Pan Sizes
If you don’t have 6-inch cake tins, this recipe can be adapted to other sizes. For instance, 7 or 8-inch tins can be used, but the cake layers will be thinner and may require a shorter baking time. Keep a close eye on the cakes as they bake, and test for doneness by inserting a toothpick into the center.

Crafting the Perfect Chocolate Ganache
What is Ganache?
Ganache is a rich, smooth mixture of chocolate and cream that can be used as a filling, frosting, or glaze. It’s incredibly versatile and can be made with different types of chocolate, depending on your preference. The process of making ganache is simple, but it requires attention to detail to ensure it turns out silky and lump-free.
Step-by-Step Instructions for Dark Chocolate Ganache
- Heat the Cream: Begin by heating the cream in a small saucepan over medium heat until it just begins to simmer. Do not let it boil, as this can cause the cream to separate.
- Melt the Chocolate: Place the chopped dark chocolate and butter in a heatproof bowl. Pour the hot cream over the chocolate and let it sit for about 2 minutes. This allows the chocolate to soften and begin melting.
- Stir Until Smooth: Using a spatula, gently stir the mixture until the chocolate and cream are fully combined and smooth. If the chocolate isn’t melting completely, you can microwave the mixture in 15-second intervals, stirring after each, until smooth.
- Chill the Ganache: Once the ganache is smooth, cover the bowl with plastic wrap and place it in the refrigerator to set for about an hour. The ganache should be firm enough to hold its shape but still soft enough to spread.
Variations: Milk and White Chocolate Ganache
While dark chocolate is the traditional choice for ganache, you can easily substitute it with milk or white chocolate. However, these chocolates contain more milk solids, so the amount of cream needs to be adjusted. For milk or white chocolate ganache, reduce the cream by half (100ml instead of 200ml) to prevent the ganache from becoming too runny.
Whipping Ganache for a Lighter Texture
If you prefer a lighter, fluffier texture, you can whip the ganache after it has set. To do this, use an electric mixer to beat the ganache on high speed until it lightens in color and almost doubles in volume. Whipped ganache is excellent for filling cakes, as it adds a layer of lightness that contrasts beautifully with the dense cake layers.
Assembling the Cake
Layering the Cake
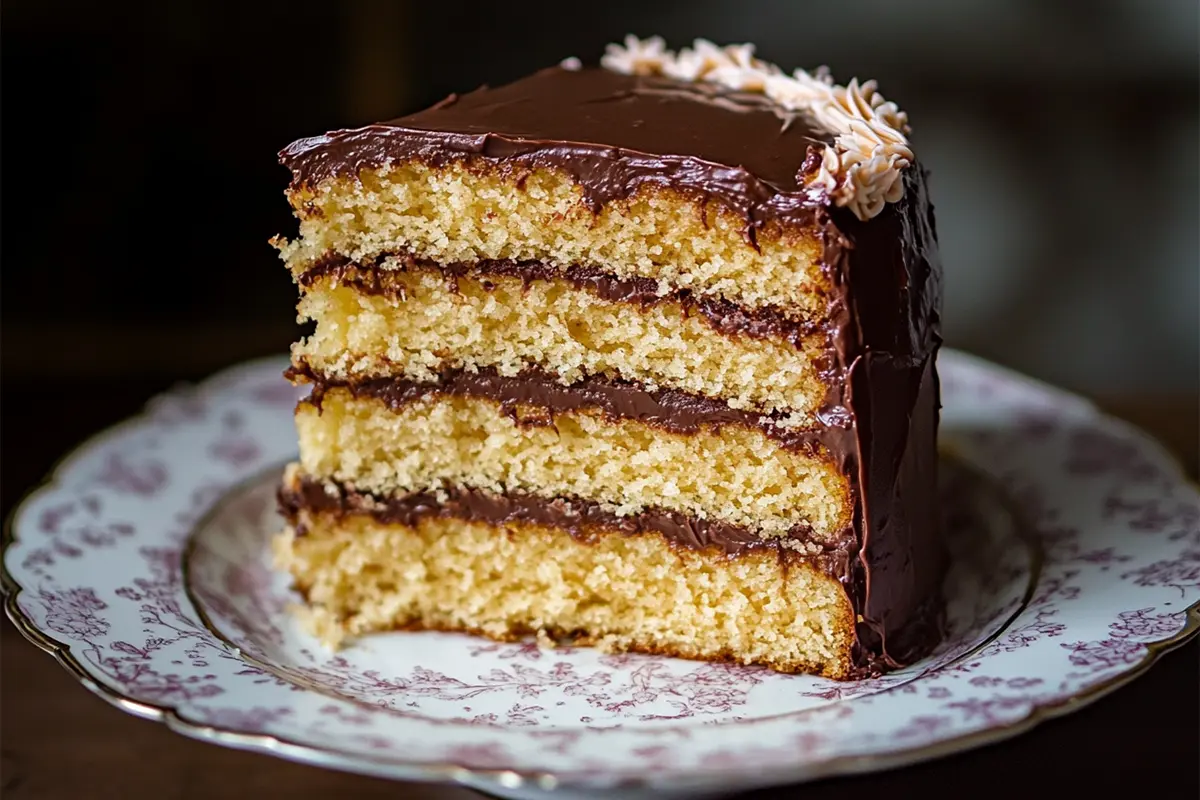
Once your cakes have cooled and the ganache has set, it’s time to assemble your creation. Start by placing one cake layer on a cake board or serving plate. Spread a generous amount of ganache over the top of this layer, smoothing it out with a spatula.
Place the second cake layer on top, pressing down gently to ensure the layers stick together. If the tops of your cakes are domed, you may want to level them with a serrated knife before stacking.
Smoothing the Ganache
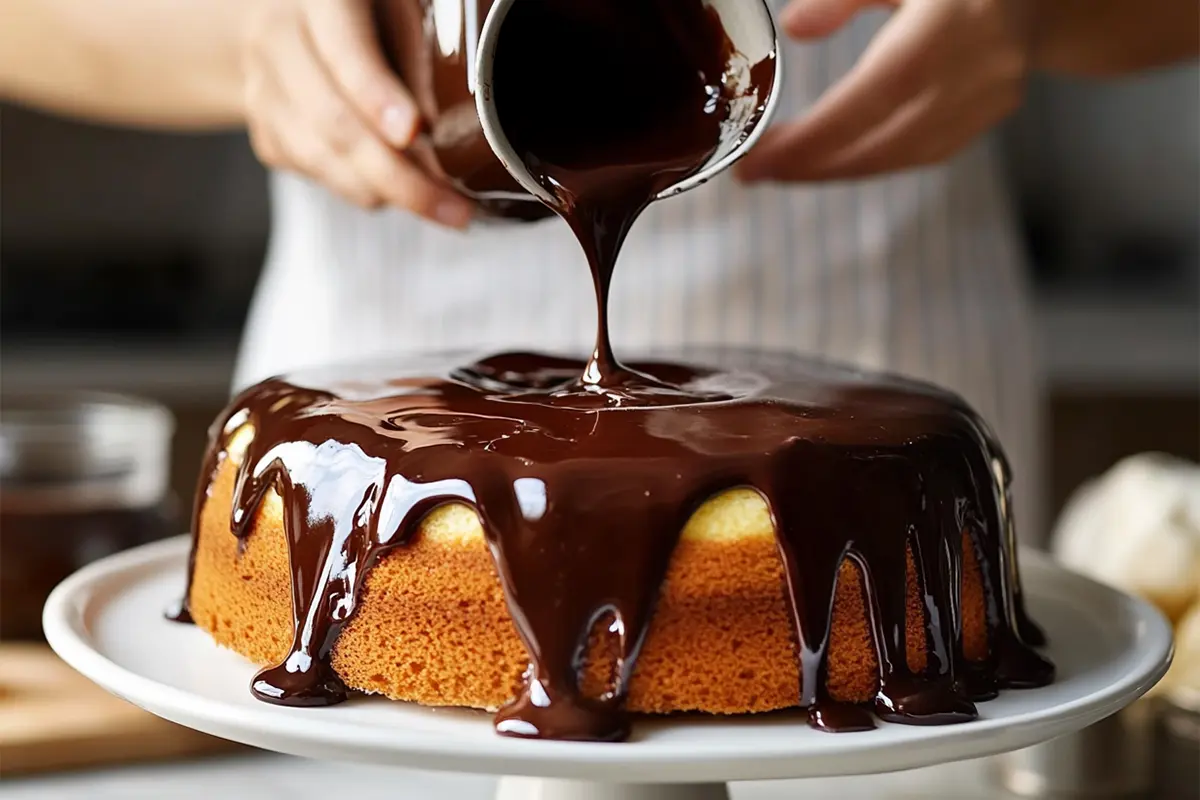
Once the cake is assembled, use the remaining ganache to cover the top and sides of the cake. To achieve a smooth finish, dip your spatula in hot water, then wipe it dry before smoothing the ganache. The heat from the spatula will help melt the ganache slightly, creating a polished, professional look.
Techniques for a Professional Finish
- Crumb Coat: Apply a thin layer of ganache to the cake to catch any loose crumbs. Chill the cake for 30 minutes, then apply a second, thicker layer for a flawless finish.
- Piping: Use a piping bag fitted with a decorative tip to pipe additional ganache around the edges of the cake. This adds an elegant touch and makes the cake look even more impressive.
Decorating the Vanilla Cake with Chocolate Ganache
Simple Decoration Ideas
Sometimes, simplicity is best. After smoothing the ganache, you can leave the cake as is for a classic, elegant look. The dark, glossy finish of the ganache is beautiful on its own, especially if you’ve achieved a smooth surface.
Using Ganache for Piping
For those who enjoy a bit of decoration, ganache is excellent for piping. Whether you’re adding rosettes, borders, or intricate designs, ganache’s firm but pliable texture makes it perfect for creating stunning decorative elements.
Adding Finishing Touches
- Fruits: Fresh berries, such as raspberries or strawberries, add a pop of color and a tart contrast to the rich ganache.
- Nuts: Crushed nuts, such as hazelnuts or almonds, add a delightful crunch and pair wonderfully with both vanilla and chocolate flavors.
- Edible Flowers: For a touch of elegance, edible flowers like pansies or violets can be arranged on top of the cake.

Troubleshooting Common Issues
Dense or Dry Cake
If your cake turns out dense or dry, there are a few possible causes:
- Overmixing: This can lead to a tough texture. Mix just until the ingredients are combined.
- Overbaking: Check your cake a few minutes before the suggested baking time is up. If a toothpick comes out clean, the cake is done.
- Incorrect Measurements: Always measure your ingredients accurately, particularly the flour.
Runny Ganache
Ganache that’s too runny won’t hold its shape well and may slide off the cake. To fix this:
- Too Much Cream: If you’ve added too much cream, place the ganache in the refrigerator to firm up. You can also melt more chocolate and stir it into the ganache to thicken it.
- Overheating: If the cream was too hot, the ganache might split. Stirring in a small amount of cold cream or milk can help bring it back together.
Splitting Ganache
If your ganache splits or looks grainy, it may be because the chocolate and cream have separated. To fix this, gently reheat the ganache over a double boiler and stir until smooth. If that doesn’t work, try whisking in a small amount of warm milk or cream until the ganache comes back together.
FAQs About Vanilla Cake with Chocolate Ganache
Can I make chocolate ganache with milk or white chocolate instead of dark chocolate?
Yes, you can substitute dark chocolate with milk or white chocolate. However, these chocolates contain more milk solids, so you’ll need to reduce the amount of cream to prevent the ganache from becoming too runny.
How do I store a cake with chocolate ganache?
A cake covered with chocolate ganache can be stored at room temperature for up to 2 days. If you need to keep it longer, refrigerate it, but bring it to room temperature before serving to enjoy the best texture and flavor.
Can I freeze the vanilla cake before adding ganache?
Yes, you can freeze the vanilla cake layers before adding the ganache. Wrap each layer tightly in plastic wrap and aluminum foil, then freeze for up to 3 months. Thaw the cake layers at room temperature before assembling and frosting.
What can I do if my ganache splits?
If your ganache splits, try gently reheating it over a double boiler while whisking continuously. If that doesn’t work, adding a small amount of warm milk or cream can help bring it back together.
How long does it take to whip ganache to the right consistency?
Whipping ganache usually takes 3-5 minutes on high speed. The ganache should lighten in color and almost double in volume. Be careful not to over-whip, as this can cause the ganache to become grainy.
Conclusion: Enjoying Your Homemade Vanilla Cake with Chocolate Ganache
Making a vanilla cake with chocolate ganache may seem intimidating, but with the right techniques and a bit of patience, you can create a dessert that’s both beautiful and delicious. The combination of light, fluffy vanilla cake and rich, decadent ganache is truly a match made in heaven, perfect for any occasion.
Remember, the key to success lies in using high-quality ingredients, following each step carefully, and taking your time to achieve a smooth, professional finish. With these tips, you’ll be well on your way to mastering this classic dessert combination.
For more baking inspiration, consider trying recipes like Raspberry Cheesecake Cookies or experimenting with unique creations like the Sourdough Pop Tart Recipe. Each of these recipes offers a different approach to baking, showcasing the versatility and creativity that can be brought into the kitchen.

